Arrive two hours early for domestic flights and three for international, then head straight to security if you have no checked bags—allow 60 minutes from the terminal doors to departure. Show a Real ID‑compliant photo ID and a scannable QR boarding pass, keeping them together. Pack a compliant carry‑on using the rule‑of‑three and roll clothes in cubes to stay within size and weight limits. Use the new CT scanner and touchless lane; if you have TSA ConfirmID or a PreCheck status, you’ll move faster. Follow the lane that matches your travel frequency and airport size, and be ready for extra screening if flagged. Continue for more details on lane choices and biometric options.
TLDR
- Arrive 2 hours early (domestic) or 3 hours early (international) and allow 60 minutes to reach the gate if not checking bags.
- Have a scannable boarding pass (QR code) and a Real ID‑compliant photo ID ready before security and gate entry.
- Use TSA PreCheck or the “Touchless” lane for faster screening; keep boarding pass and ID together to avoid rummaging.
- Pack a light carry‑on following airline size limits, using the rule‑of‑three and rolling clothes with packing cubes for quick access.
- If flagged (e.g., SSSS), comply with enhanced screening steps—swabs, imaging, or pat‑down—and power on devices if requested.
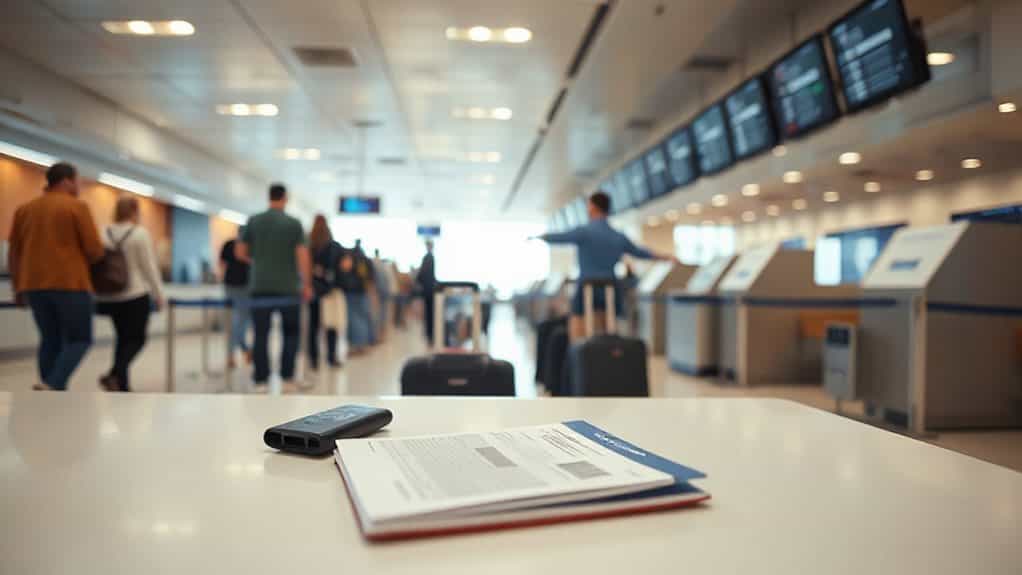
When to Arrive at the Airport
When you’re planning your trip, arriving at the airport at the right time can keep the whole process smooth.
For domestic flights, aim for two hours early; international trips need three.
If you’re not checking bags, 60 minutes usually suffices, but add 40 minutes for regular security. Busy hubs like JFK or O’Hare may require an extra 15 minutes, while small airports can shave five minutes off. Most travelers can rely on a 60‑minute buffer from the airport doors to departure when they have expedited security options such as TSA PreCheck.
To help avoid delays, arrive during off-peak hours since crowded lanes slow the security throughput that trusted travelers benefit from.
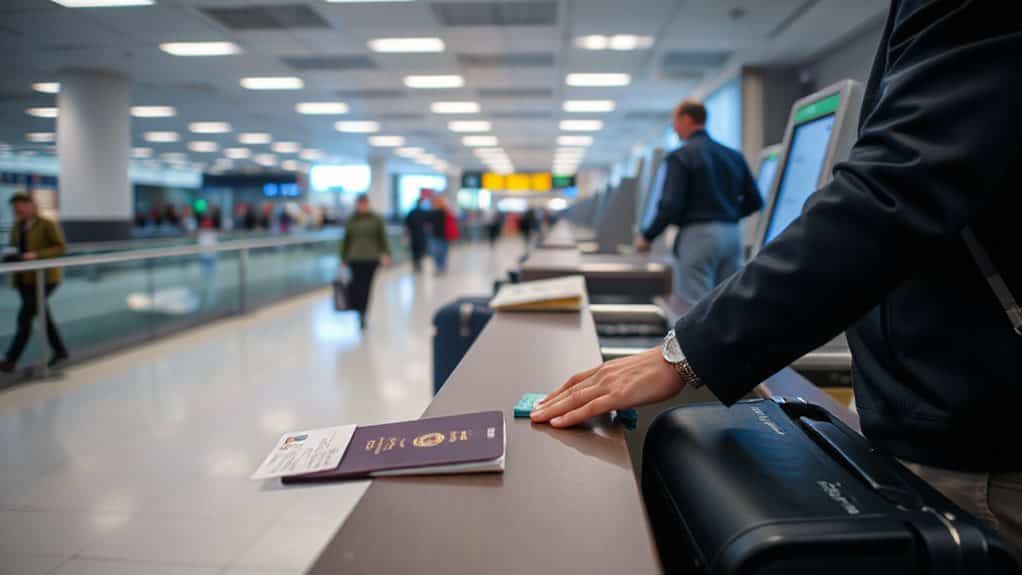
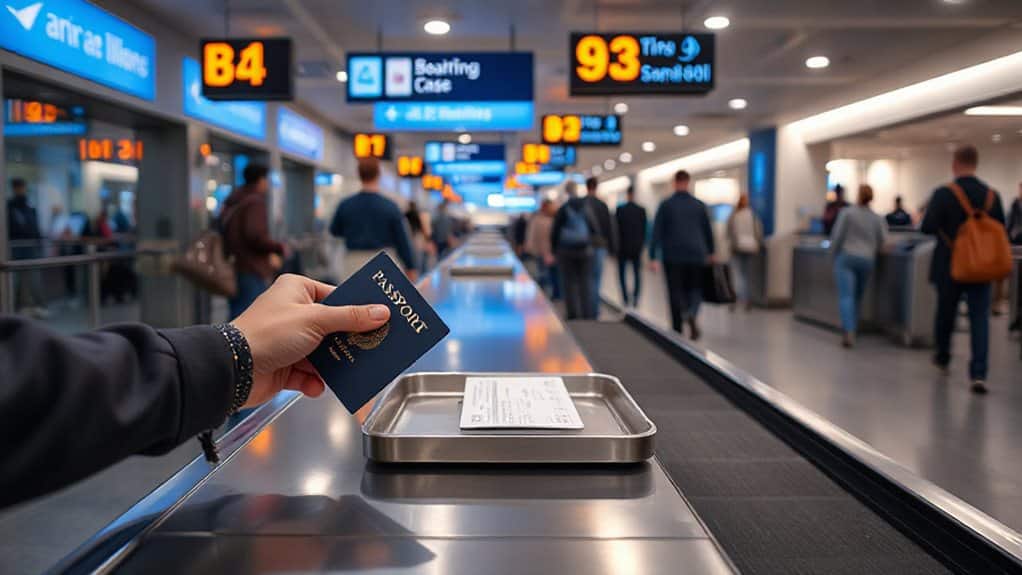
Gather the Right ID and Boarding Pass
Make sure your boarding pass is scannable—whether it’s a QR code on your phone or a printed copy—because security and gate agents will check it before you board.
You’ll also need a Real ID‑compliant photo ID, such as a passport, enhanced driver’s license, or trusted‑traveler card, since TSA will deny entry to non‑compliant IDs after 2026.
If you’re not ready with Real ID by 2026, you may be directed to biometric screening and charged a $45 non-refundable fee.
Having both a clear boarding pass and a valid ID ready will keep the verification process smooth and avoid unnecessary delays.
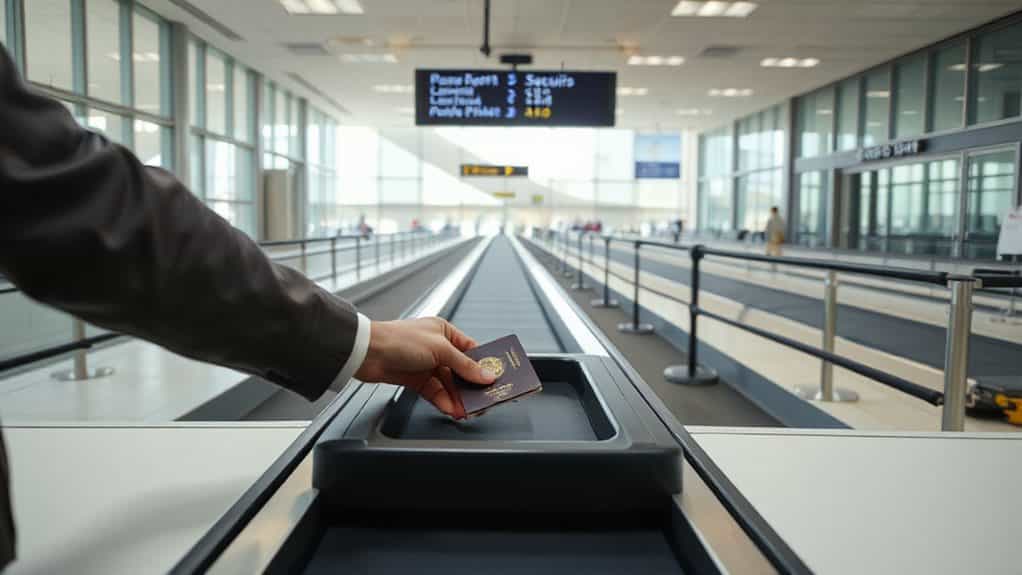
Verification Required Boarding Pass
If you’ve already checked in online, you’ll have a boarding pass—either printed or on your phone—ready to show at security.
Hold it with your ID, keeping the screen at full brightness if it’s digital. Present both together, avoiding rummaging through bags.
Your PreCheck status appears on the pass, so officers can verify it quickly and let you move forward.
Real ID Compliance Essentials
Because the TSA now requires a REAL ID‑compliant credential for all domestic travelers 18 and older, you must verify that your ID meets the new standards before you reach the security line.
Look for the star on your driver’s license, or use a U.S. passport, military ID, or Trusted Traveler card.
If you lack a compliant ID, pay the $45 ConfirmID fee online, upload your documents, and bring the receipt to the checkpoint.
This prevents denial and extra screening.
How to Pack a Light Carry‑On Quickly
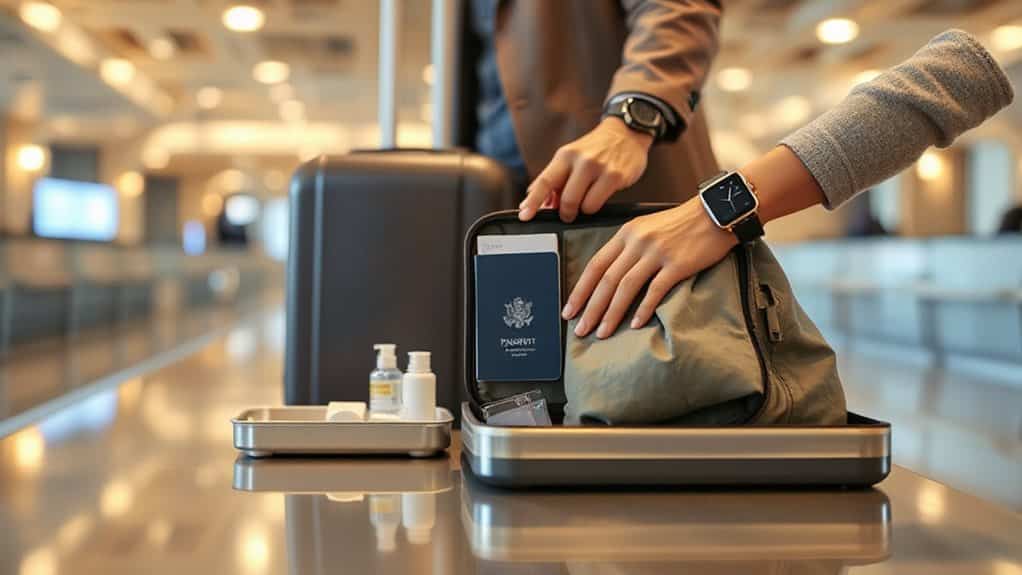
Typically, you start by reviewing the airline’s carry‑on dimensions and weight limits, then you create a concise packing list that targets only essential items.
Follow the rule-of-three structure to pack three tops, three bottoms, three layering pieces, and only two-to-three shoe pairs so everything mix-and-matches cleanly for at least 21 outfits.
Use the 5‑4‑3‑2‑1 rule, roll clothes, and wear bulky shoes on the plane.
Use packing cubes, choose neutral mix‑and‑match pieces, and bring a portable charger.
This cuts weight, avoids fees, and frees space for freedom.
Navigate the New CT Scanner and Touchless Screening
You’ll step onto the conveyor and place your bag straight into the CT scanner, where 3‑D imaging and automated detection scan it without you having to remove shoes, belts, or electronics. The system then creates a detailed tomographic view, instantly flagging any prohibited items while keeping the process contactless and speeding up the queue. Be ready for a request to power on your devices if TSA may ask to power on during screening so the images are clear. Follow the lane markings and screen prompts, and you’ll move through security with minimal touch points and no extra divesting steps.
CT Scanner Benefits
With a CT scanner at the security checkpoint, you’ll see your bag’s contents rendered as a full 3‑D image that can be rotated and examined from any angle.
The volumetric x‑ray captures hundreds of views, letting AI spot weapons and explosives with high precision.
You keep liquids, electronics, and shoes in your luggage, cutting unpacking time and false alarms, while queues shrink and throughput rises.
Touchless Screening Steps
If you’ve already activated TSA PreCheck, enrolled in a participating airline’s frequent‑flyer program, and stored your Known Traveler Number, you can move straight into the Touchless ID lane.
Scan your mobile boarding pass, then step into the green “Touchless” lane.
A facial‑recognition camera captures your image, encrypts it, and verifies you with CBP.
No physical ID is needed; once cleared, you drop bags at the designated Touchless station and head directly to your gate.
Which Security Lane Is Best for You?
What security lane suits your travel style depends on how often you fly, whether you travel internationally, and how much you’re willing to spend.
If you fly often and want cheap convenience, TSA PreCheck ($76‑$85/5 yr) removes belt and shoe removal—and skip the pat-down is often possible when you follow TSA screening guidelines. Global Entry ($120/5 yr) adds international re‑entry kiosks. CLEAR ($199/yr) offers biometric ID but still needs PreCheck. Airline priority lanes cost per ticket and vary by carrier. Fast‑track lanes are paid, airport‑specific, and may not guarantee speed during peaks. Choose the option that balances cost, frequency, and international needs.
What Is TSA ConfirmID and How Do Biometric Scans Work?
Starting in February 2026, TSA ConfirmID offers a temporary workaround for travelers who don’t have a REAL ID‑compliant driver’s license or other accepted ID. For travelers who may be considering alternatives to formal identification, it can help to remember that free museums and other low-cost attractions in London are good options for keeping costs down while you plan your trip.
You pay $45 online, receive a receipt, and show any government‑issued ID at security. Officers then run a facial‑recognition scan—TSA Touchless ID—at participating hubs, cutting contact and streamlining checks while adding roughly ten to fifteen minutes to screening.
Do You Still Need to Take Anything Out of Your Shoes?
Since July 8 2025 the TSA eliminated the shoe‑removal rule nationwide.
All passengers, including those in standard lines, keep shoes on.
The change follows technology upgrades that maintain security without the extra step.
TSA PreCheck travelers were already exempt, and age‑based exemptions no longer matter.
Follow any agent’s directions, but you won’t need to strip your shoes.
SFO Security Checkpoint Tips & Assistance
Since the shoe‑removal rule ended, your focus at SFO shifts to the items you must take out of pockets and bags before the metal detector.
Remove keys, phones, wallets, belts, jewelry, and loose change; place them in your carry‑on or a bin.
Take off hats, sunglasses, and bulky electronics, and put liquids in designated containers.
Follow TSA’s prohibited‑item list, keep your ID and boarding pass handy, and use PreCheck or CLEAR for faster access.
What to Do If You’re Flagged for Additional Screening?
If your boarding pass shows the SSSS code, TSA has selected you for enhanced screening, and you’ll need to follow a specific set of steps before you can board.
Arrive early, keep your belongings organized, and stay calm.
Hand your bag to the officer, allow swabs, and comply with imaging or pat‑down.
Ask for a private screen with a companion if needed, and charge devices in case they must be powered on.
And Finally
By arriving early, bringing proper ID and a boarding pass, packing a compliant carry‑on, and using the new CT scanner and touchless screening, you’ll move through the airport efficiently. Choose the security lane that matches your needs, understand TSA ConfirmID and biometric scans, and follow shoe‑removal rules when required. Take advantage of SFO‑specific tips and assistance, and know what to do if you’re flagged for additional screening. These steps help you get through the check‑in process smoothly and on time.