You’ll need a valid passport that’s good for at least six months after your return, any required visas or ESTA, and a few blank pages. Arrive three hours early, check in, and print your boarding pass. At security, keep your passport, boarding pass, and allowed liquids handy; spare lithium batteries must stay in your carry‑on. At passport control, present your documents, answer the officer’s questions truthfully, and complete biometric scans or fingerprints if required. After customs, collect and re‑check bags for connections, then follow signs to ground transportation—more details await if you continue.
TLDR
- Arrive early (≈3 hours) and have passport, visa, and any required forms ready for the officer.
- Choose the correct lane (regular, Global Entry, Mobile Passport) and present your boarding pass at the biometric kiosk if prompted.
- Expect a quick photo scan and possibly a fingerprint; keep your face centered for a 1:1 match with your passport photo.
- Answer the officer’s questions clearly and truthfully; they may ask about travel purpose, duration, and onward plans.
- After clearance, collect your luggage, pass through customs with your declaration form, then proceed to ground‑transport desks.
Prepare Your Documents for International Airport Travel
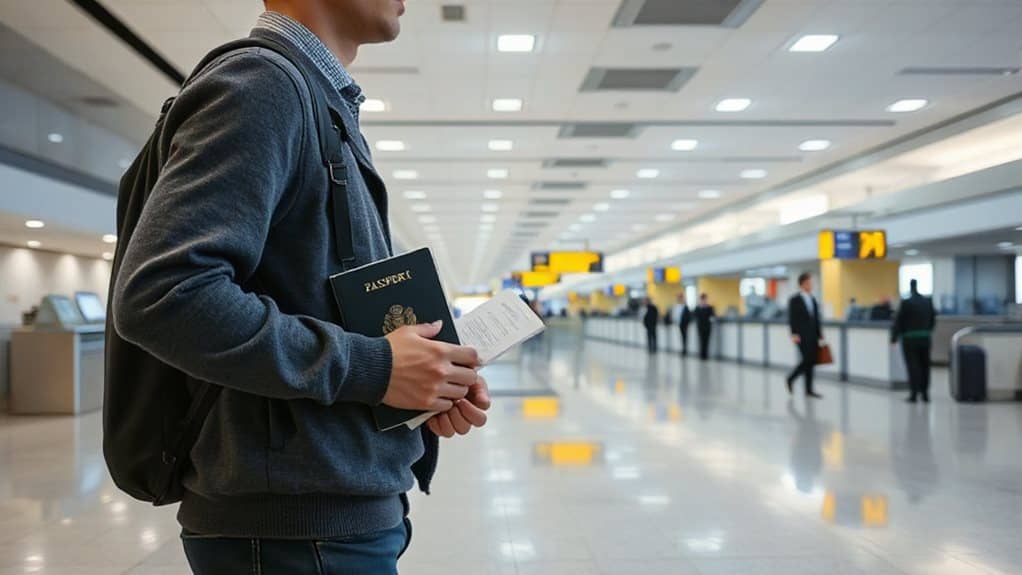
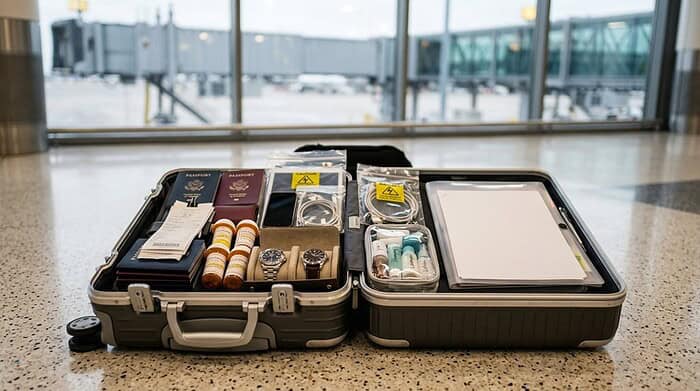
When you head to the airport, make sure your passport is valid for the entire trip and has enough blank pages; most countries also require it to remain valid for at least six months after your return. Check expiration early, bring a secondary ID, and keep digital copies. Verify visa or ESTA needs, pack any required health certificates, and have proof of onward travel ready. Also, travel with prescription meds by keeping them in their original labeled containers and carrying a copy of your prescription in case you need to show medication documentation at immigration. Enroll in STEP for alerts from the U.S. embassy.
Arrive at the International Terminal and Check In
You should aim to be at the international terminal at least three hours before departure, giving you enough time to verify your passport and visa, select your seat, and confirm baggage limits.
Once you spot your airline’s check‑in area, use a kiosk or mobile app to print your boarding pass, then drop any checked bags at the designated counter.
After the pass is issued, head straight to security, keeping your passport and boarding pass handy for the final gate check, and remember that TSA security screening must be completed again before an international departure.
Arrive Early, Verify Documents
International‑terminal arrival is your first checkpoint, and getting there at least three hours before departure gives you a comfortable buffer for check‑in and security.
Arrive early, locate the international hall, and present your passport and visa to the officer.
Verify APIS data matches your boarding pass, and confirm the electronic I‑94 record is generated.
This quick verification prevents delays and secures a smooth entry.
Choose Seat, Check Baggage Limits
A good seat choice starts the moment you open the airline’s app or website, usually 24 hours before departure, where you can view the seat map, select a preferred aisle or window, and see any extra fees for premium locations.
Then, check in online or at a kiosk, print your boarding pass, and head to the bag‑drop counter.
We 60 minutes before departure, weigh and tag your luggage, and keep your carry‑on under the airline’s size limits.
Navigate the Security Checkpoint Without Stress
Because the security checkpoint can feel chaotic, preparing ahead of time makes the experience smoother. Pack light, leave knives and scissors out of carry‑on, and keep spare lithium batteries in your bag. Be ready for strict Delta carry-on size checks at the gate during busy periods, especially on regional flights where overhead bin space is limited. Have photo ID and boarding pass ready, review liquid limits, and place shoes, belts, laptops, and liquids in bins as instructed. Use TSA PreCheck or CLEAR if you qualify for faster passage.
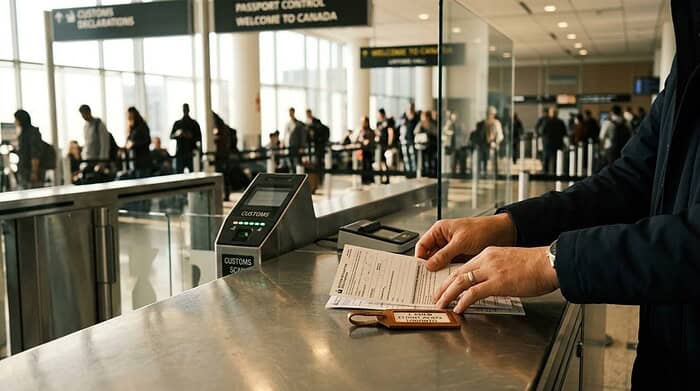
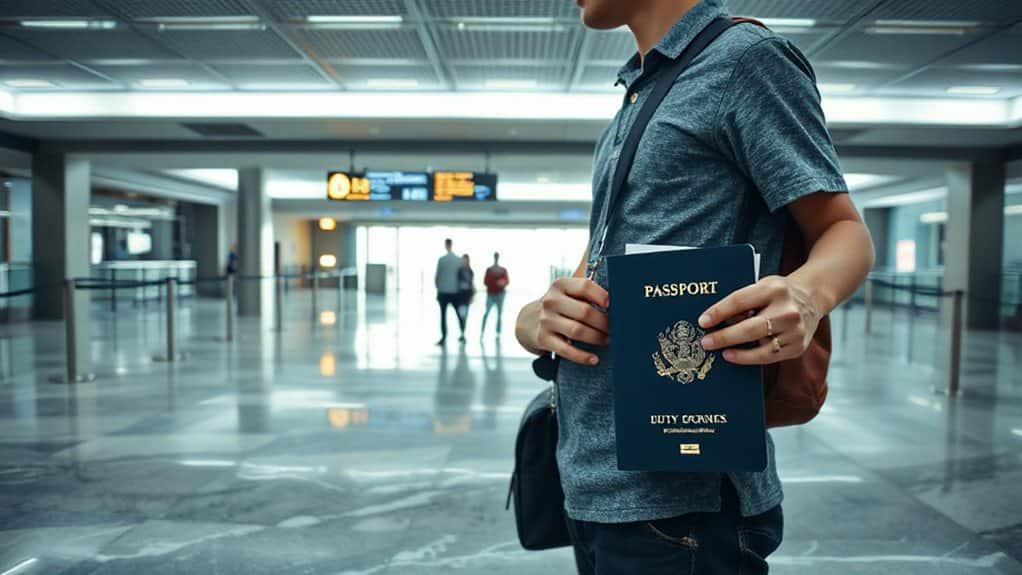
Pass International Airport Passport Control – Step‑by‑Step
When you arrive at passport control, make sure your passport, visa, and any required forms are ready to show the officer.
Choose the line that matches your status—regular, Global Entry, or Mobile Passport—to keep the queue moving efficiently.
Answer the officer’s questions clearly and truthfully, then follow any instructions for biometric scanning or stamping.
If you don’t have a REAL ID-compliant license, you may be directed to biometric kiosk Confirm.ID for identity verification during the screening process.
Queue Prepare Documentation
One of the first things you’ll need to do after stepping off the plane is have all required documents ready for the passport‑control checkpoint.
Bring your passport, visa or Green Card, and any supporting forms like DS‑2019 for J‑1 holders.
Fill out the CBP declaration (6059B) before you line up, and keep receipts handy.
Present everything to the officer, answer brief questions, and let the biometric scan complete.
Choose Correct Line
After you’ve gathered your passport, visa, and any required forms, the next step is to find the right lane at passport control.
Follow overhead signs to the immigration area, then choose the lane that matches your status: orange for U.S. or Canadian citizens, dedicated visa/ESTA lanes for non‑citizens, Global Entry kiosks for trusted travelers, and accessible lanes if needed.
Use the Mobile Passport app if eligible, and keep your documents handy for facial recognition.
Respond to Officer
At passport control, hand your passport, visa (or residency card), and any supporting paperwork—such as a DS‑2019 for J‑1 holders—to the officer.
He’ll scan them, take your fingerprint and photo, then ask about your trip purpose, stay length, and lodging.
Answer calmly, truthfully, and clearly.
If he requests additional info, comply promptly, then follow the sign‑posted route to baggage claim.
How to Answer Typical Immigration Officer Questions?
When you sit down with an immigration officer, be ready to answer a series of straightforward questions that verify your identity, travel history, purpose of visit, employment status, and family background. State your full name, birthdate, and citizenship, then describe your address, recent trips, and intended stay. Explain your job, employer, and any petition, and disclose marital status, children, and any legal issues. Answer succinctly, honestly, and confidently. Also expect procedures involving biometric verification to help confirm your identity.
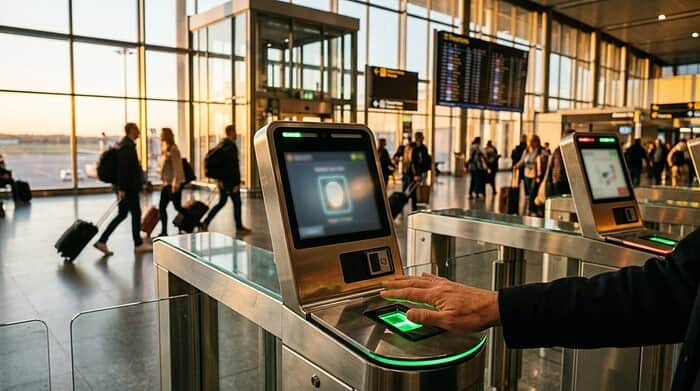
Complete International Airport Biometric Scans and Fingerprints
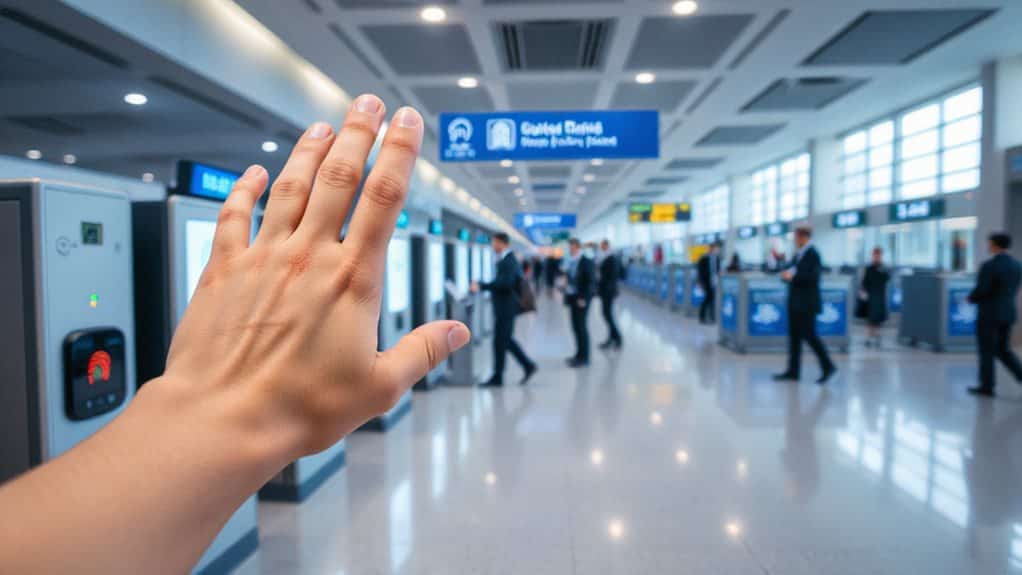
Answering an officer’s questions gets you through the interview, but the next step is the biometric verification that most international airports now require. You’ll scan your passport or boarding pass at a kiosk, then position your face for a 1:1 match and possibly place a finger for a fingerprint template. The system checks your live image against the passport photo in seconds, allowing you to proceed if it matches, otherwise a staff member reviews it. Carry-on electronics rule compliance can also matter for your overall processing flow, since you’ll still pass through security screening before you reach immigration in most airports.
What Happens at the Customs Counter (and How to Be Ready)?
Usually, after you clear immigration, you’ll follow the signs to the customs area where a CBP officer will check your documentation and ask a few brief questions about your trip.
Keep your passport, visa, and any CBP declaration form handy.
Declare purchases, show receipts, and answer questions about purpose, duration, and items.
Follow the officer’s directions for possible luggage inspection, and exit left after approval.
Collect and Re‑Check Baggage for Connecting Flights
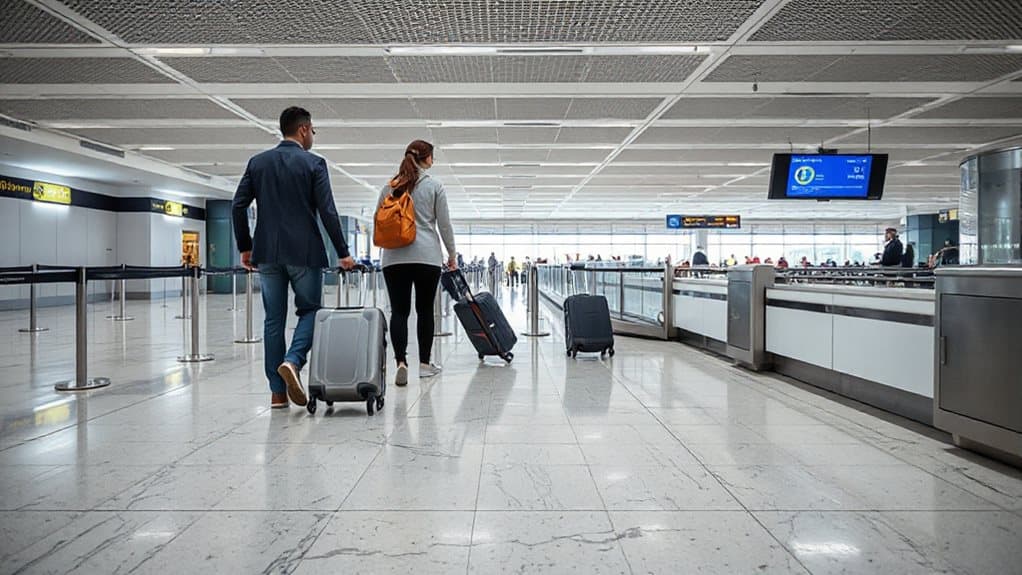
After you clear customs, you’ll need to head to the baggage carousel to collect your checked luggage before you can continue to your connecting flight.
Grab your bags, verify the tags show the final destination, then proceed to the re‑check counter or drop‑off belt.
Your airline will scan them, and you’ll pass secondary security before heading to the gate.
Final Tips to Exit the International Airport Arrival Hall Smoothly
Knowing which exit to take and how to move through the final checkpoints can spare you time and hassle.
Follow signage: “San Francisco” doors lead to the arrivals meeting area, while “Connecting Flights” guide onward travelers.
Keep passport, visa, and customs forms ready for officials.
Grab luggage, head to ground‑transport desks, and confirm your ride before leaving the hall.
This systematic approach supports a smooth, unrestricted exit.
And Finally
By following these steps, you’ll move through international immigration efficiently and avoid common pitfalls. Keep your documents organized, answer officers clearly, and cooperate with biometric scans. Stay mindful of customs regulations and handle baggage promptly. With preparation and awareness, you’ll exit the arrival hall smoothly and continue your trip without unnecessary delays.