First spot the two‑letter IATA code at the top left, then read the one‑to‑four‑digit flight number that follows; the gate and boarding time appear nearby, usually under “Gate” and “Boarding.” Your seat is shown by a letter‑row (A‑F) and a number, while the carrier code repeats near the logo. Boarding group, a digit or letter, tells you when to line up, and any SEQ number refines your spot. Warning codes like SSSS, STBY, or DOCS‑REQ flag extra screening, standby status, or missing documents. Barcode scanners at security and the gate pull all this data instantly, and digital passes in mobile wallets work the same way, though printed copies avoid tech glitches. Keep an eye on updates, and you’ll master the pass in seconds.
TLDR
- Identify the airline by its two‑letter IATA code at the top left, then read the 1‑4 digit flight number that follows.
- Locate the gate number near the flight details; it’s usually printed in bold or highlighted for quick reference.
- Check the boarding time, listed explicitly, and compare it with the gate’s current boarding group and SEQ number for your position in line.
- Verify your seat by reading the row letter (A‑F) and number; lower numbers are toward the front of the cabin.
- Scan the barcode (PDF417 or QR) for carrier code, flight number, seat, and boarding group, and note any warning codes (SSSS, STBY, DOCS‑REQ) at the bottom.
Decode the Flight Number, Gate, and Boarding Time Quickly

Spotting the flight number on a boarding pass is quick once you know its structure: the first two characters are the airline’s IATA code—like AA for American Airlines or UA for United—followed by a numeric identifier that can be one to four digits long. You’ll see the gate printed near the flight details, and the boarding time listed explicitly. Check the barcode for carrier code, flight number, and gate updates, and note that even numbers head north or east while odd numbers go south or west. Carry-on size limits must not be exceeded, because gate agents can enforce them with physical sizers and visual inspections, leading to possible gate checking. Flight numbers must not exceed four digits.
Decode Seat, Carrier Code, and Boarding Group for Your Seat Choice
When you look at the seat section of a boarding pass, the first letter tells you the row’s position—A through F in a typical economy 3‑3 layout—while the number indicates the exact seat, with lower numbers toward the front of the cabin.
You’ll see a two‑letter IATA carrier code near the airline logo, confirming the operator.
Below, the boarding group, a digit or letter, shows your boarding order; lower groups board earlier.
SEQ numbers further refine your position within that group, making it easier to gauge your exact spot in line.
If you’re choosing the fastest options, prioritize boarding group order so you’re seated sooner and can settle in quicker.
How Boarding‑Pass Barcodes Scan at Security and the Gate
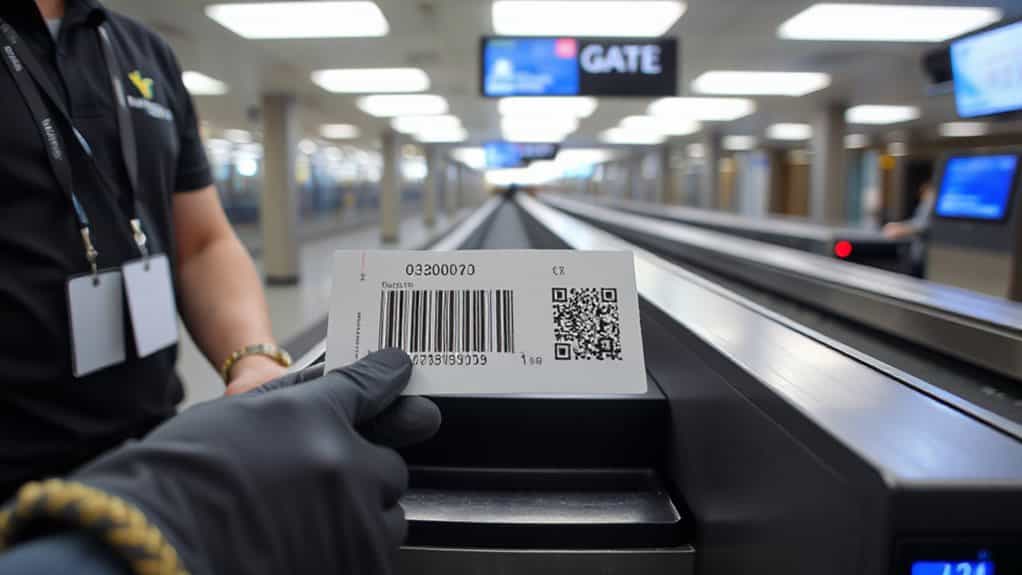
Because the barcode is the bridge between your boarding pass and the airline’s systems, scanners at security checkpoints and gates first capture the 2‑D image, then translate it into a long string of characters that the backend parses for passenger name, flight number, seat, and boarding group. You’ll see a quick beep as the wide‑angle scanner reads PDF417 or QR code, while handheld devices verify the same data at the gate. Proper alignment, good lighting, and an unwrinkled pass keep the process seamless, ensuring your flight details are instantly confirmed.
Because TSA requires that spare lithium batteries stay in carry-on, airport and gate staff may also prompt you to ensure your electronics and batteries comply if they notice anything off during your screening.
What Those Warning Codes Mean (SSSS, STBY, DOCS‑REQ)
Typically, you’ll notice a three‑letter code—SSSS, STBY, or DOCS‑REQ—printed near the bottom of your boarding pass, and each one signals a specific requirement before you can board.
SSSS means you’ll face extra TSA screening, possibly a pat‑down and device check.
STBY indicates no confirmed seat; you must verify with the gate agent.
DOCS‑REQ flags missing travel documents, so you’ll need to show a passport or visa before boarding.
Arrive early and ask for assistance, especially if you see additional TSA screening.
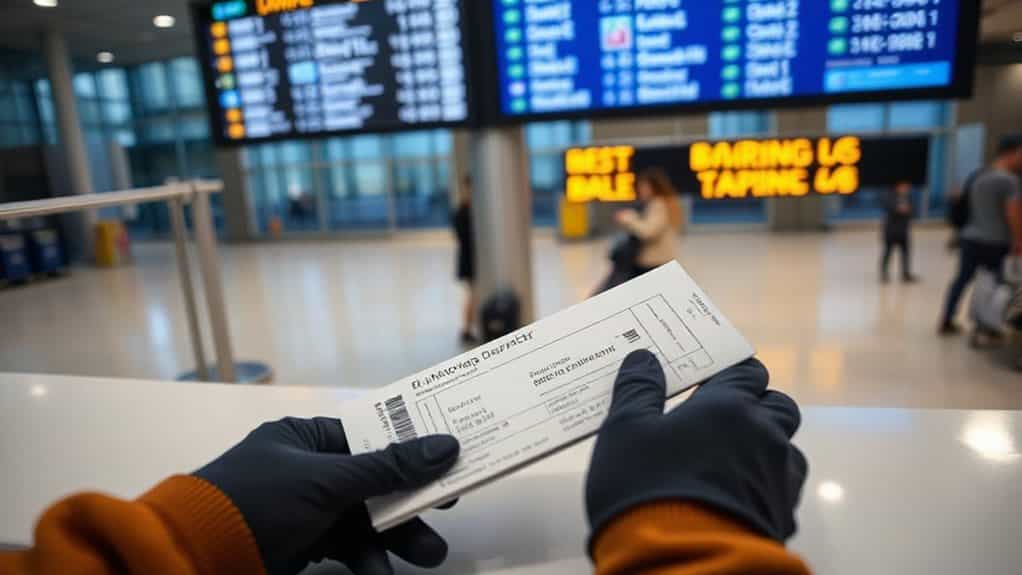
Digital vs. Printed Boarding Passes: Which Is Best for You?
If you weigh the pros and cons of each format, you’ll see that digital and printed boarding passes each have distinct advantages that suit different travel habits.
Digital saves paper, offers one‑click check‑in, real‑time updates, and biometric security, but relies on battery life and connectivity.
Printed passes avoid tech failures, work offline, and serve as a reliable backup, yet they can be lost, damaged, or wasteful.
Choose based on your need for convenience versus redundancy.
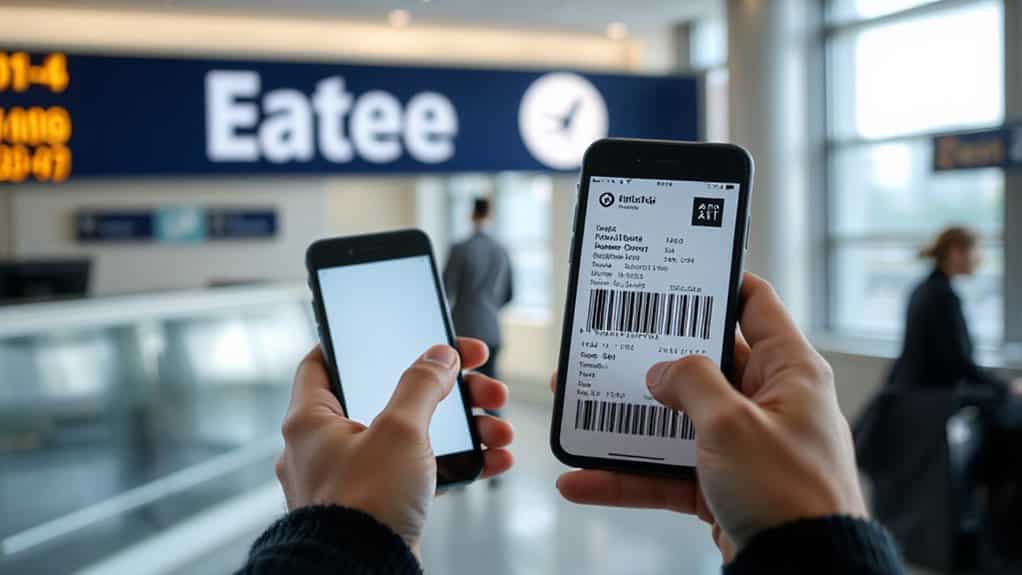
Use Mobile Wallets to Scan Your Boarding Pass on the Go
Add your boarding pass to Apple Wallet during the airline’s check‑in flow, then you’ll have a digital ticket that’s instantly accessible from your lock screen or the Wallet app.
Tap “Add to Wallet” at the end of the check‑in, then swipe right on the lock screen or open the app to view the QR code.
QR code scanning at the gate works quickly because the full barcode is shown on your phone as soon as you open it.
Hold the screen steady at scanners, and your phone will display the full barcode instantly, even offline.
This method saves time, cuts waste, and keeps your boarding information always within reach.
Boarding‑Pass Tips to Avoid Bumping and Speed Up Boarding
You’ll notice early‑warning codes on your pass, like a “+” sign, that flag a higher bump risk, so keep an eye on them before you board.
Use the sequence number at the bottom to gauge your boarding group; lower numbers usually mean you’ll be called earlier.
These codes often map to fare class buckets, which airlines use to control seat availability and protect higher‑priced inventory.
Early Warning Codes
When you glance at a boarding pass, the small three‑letter codes can signal potential delays or extra steps before you reach the gate.
SSSS means you’ll face extra TSA screening, so arrive early. STBY shows you’re on standby; monitor gate updates. GTE indicates seat pending, risking a bump. DOCS‑REQ flags document checks.
Know your booking class—A/F, Y, Q, B—to gauge boarding priority.
Sequence Number Strategy
If you snag a low SEQ number, you’ll board earlier and secure a better seat. Check in exactly 24 hours before departure to claim SEQ 001 or nearby numbers; airlines like Southwest assign boarding positions directly from this sequence.
Lower SEQ improves row choice, overhead bin access, and reduces bumping risk under oversold conditions.
Memorize your SEQ for quick agent verification if scans fail.
And Finally
By mastering the key sections of a boarding pass—flight number, gate, boarding time, seat, carrier code, and group—you’ll move through security and the gate with confidence. Recognize barcode functions and warning codes to avoid delays, and choose between digital or printed passes based on your preferences. Using a mobile wallet lets you scan quickly, while following the tips here helps you sidestep bumps and speed up boarding. Apply these basics on every trip for smoother, more efficient travel.