Scout satellite images on Google Maps for overlooked rooftops or hills, then cross‑check those spots with AllTrails elevation data and OpenStreetMap unmarked paths. Use PeakFinder’s AR view to spot distant peaks and glance at Strava heatmaps for cyclist routes that converge on high points. On foot, wander steep residential stairs, back lanes, and river walks, noting benches or art that often mark quiet overlooks. Public transit can drop you near peripheral parks or rooftop access, especially in grid‑style cities like Seattle. Timing visits for sunrise or sunset, checking forecasts, and carrying a lightweight tripod will help you capture the view; the next section reveals how to pair food stops and stay safe on unmarked routes.
TLDR
- Scan satellite imagery and elevation data (Google Maps, AllTrails, PeakFinder) to locate overlooked rooftops, hills, and unmarked paths.
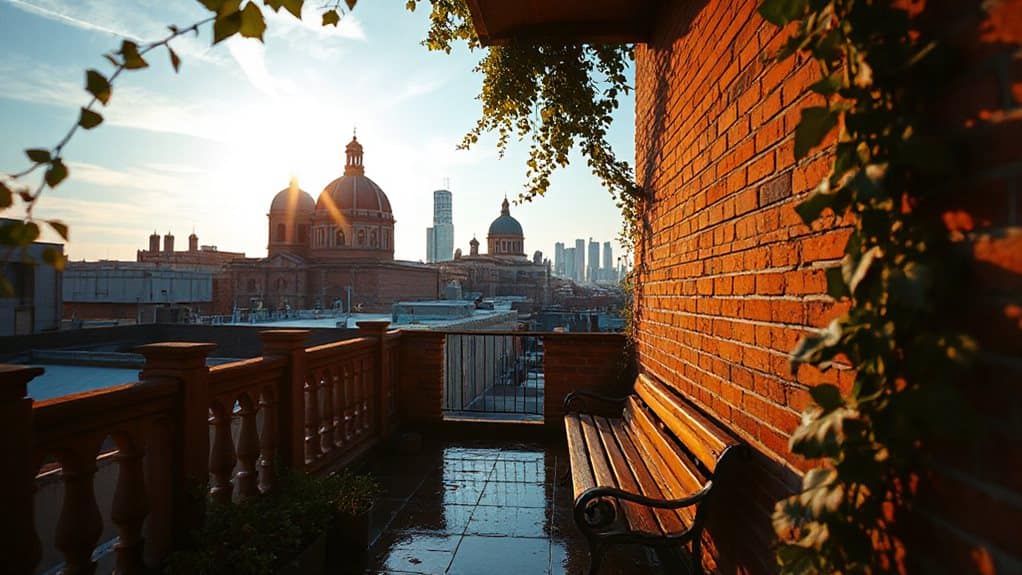
- Explore on foot: climb steep residential stairs, follow lamppost‑marked alleys, and use river walks to reach hidden terraces and quiet benches.
- Use public transit routes (buses, light rail, tuk‑tuks) that serve peripheral parks and rooftop accesses, checking city‑specific fare cuts and service grids.
- Leverage local apps (Google Field Trip, Foursquare, Spotted by Locals, Spots, Mosey, Kamino) for insider tips and curated photo‑friendly spots.
- Schedule visits during sunrise or sunset, check weather forecasts, and bring compact gear (memory‑foam pillow, lightweight wide‑angle/telephoto lens, portable tripod).
Discover Hidden City Viewpoints Before You Travel
Where can you start uncovering hidden city viewpoints before you even book a flight? Use Google Maps satellite view to spot overlooked rooftops and hills, then cross‑check with AllTrails for user‑rated elevation points. OpenStreetMap reveals unmarked paths, while PeakFinder shows distant peaks via AR. Check Strava heatmaps for cyclist routes that converge on secret high points, and browse virtual tours on Google Earth Street View, 360 Cities, and Airbnb Experiences for hidden terraces and balconies. Explore the Georgian Military Highway for breathtaking vistas along the Caucasus Mountains. Also consider consulting topographic maps to identify subtle ridgelines and elevation gains that rarely appear on standard city guides.
Spot Hidden City Viewpoints on Foot
After you’ve identified promising spots on satellite images, the next step is to examine them on foot. Wander steep residential stairs, slip through back lanes, and follow cast‑iron lampposts that mark hidden routes. Use river walks to reach hillside terraces, and let benches or modern art point you toward quiet overlooks. Move slowly, stay curious, and let the city’s layered topography reveal secret vistas. Consider carrying an adjustable tray or measuring your seat pitch to ensure any brief rest stops don’t force awkward posture.
Ride Public Transit to Off‑beat Vistas
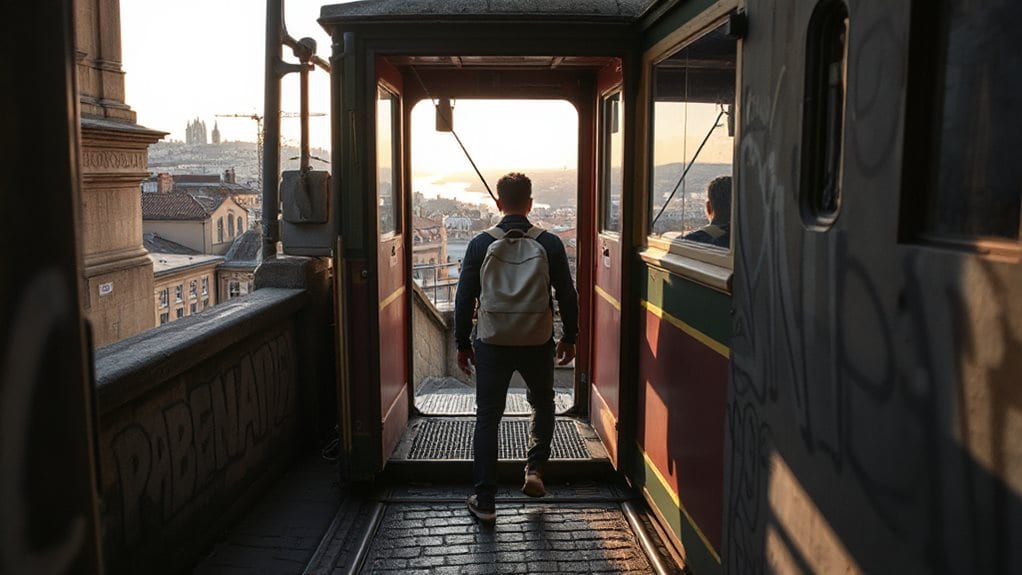
Public transit can get you to hidden viewpoints that are far from the typical tourist trail, and you don’t need a car to reach them. In dense cities like New York, San Francisco, and Washington, frequent bus and rail routes connect neighborhoods to peripheral parks, riverbanks, and rooftops.
Grid‑style services in Seattle and Denver reduce transfers, while fare cuts in San Francisco and expanded routes in Salt Lake City increase access to off‑beat vistas without driving. Be mindful of local safety and transport tips, especially when traveling at night or using informal services like tuk tuks in some cities.
Use Local Apps to Find Hidden City Viewpoints
Ever wondered how to uncover the city’s best‑kept vistas without wandering aimlessly? Download Google Field Trip for push‑notified cultural tidbits and hidden gems sourced from Zagat reviewers. Use Foursquare to filter highly‑rated spots and avoid low‑score places. Try Spotted by Locals for authentic insider tips, and Spots for curated photo‑friendly locations. Mosey and Kamino supply itineraries and themed walking tours, delivering authentic viewpoints. Remember that real‑time pricing techniques used in other industries can similarly help you prioritize viewpoints based on current popularity and crowd levels.
Time Your Visit for Sunrise, Sunset, and Crowd‑Free Hours
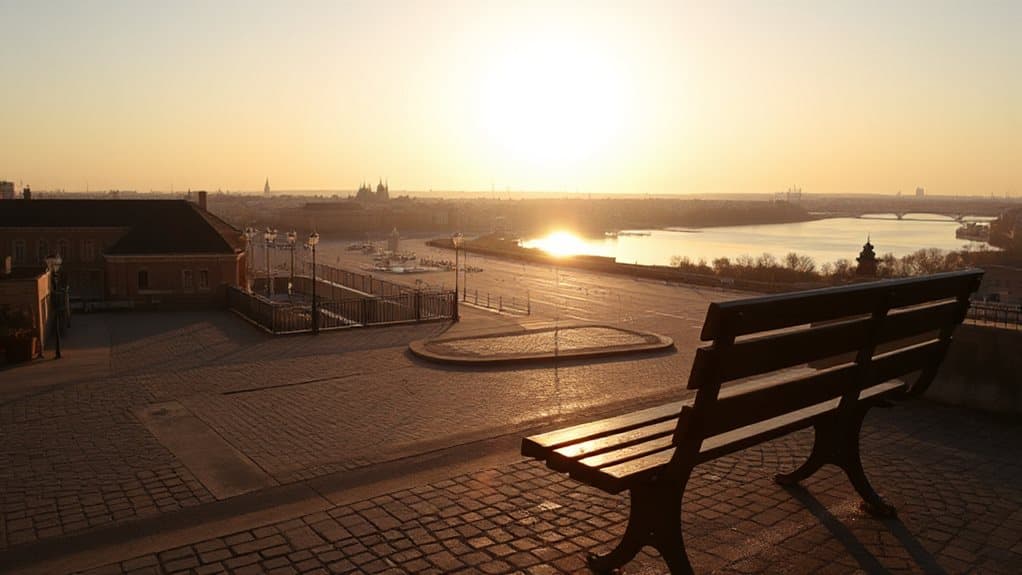
Using the apps you already know, shift your focus from discovering hidden spots to planning exactly when to be there. Arrive 30‑60 minutes before sunset to catch the color transition, and stay past the official sunset for lingering hues. For sunrise, show up at least an hour early; the best glow appears 10‑15 minutes before the sun rises, and crowds are minimal. Check hourly forecasts for mid‑level clouds and moderate humidity to enhance colors, and choose locations like Ventura Pier or Inspiration Point for optimal views. Consider bringing a compact, machine‑washable memory foam travel pillow for comfortable waiting during long pre‑sunrise or post‑sunset sessions.
Save Money on Paid Observation Decks
Where can you enjoy skyline views without paying the premium ticket price? In Tokyo, the Metropolitan Government Building’s 45th‑floor deck offers free access and iconic vistas of Mt. Fuji and the Skytree.
London’s Sky Garden, Horizon 22, and Tate Modern’s level‑10 deck provide similar panoramas after online reservation or walk‑in, skipping £30 Shard fees.
Use IDNYC cards for New York discounts. A comfortable, travel-friendly eye mask with 100% light-blocking design can help you rest on the journey to these viewpoints.
Pair Food & Drink Stops With Panoramic Views

What’s the best way to enjoy a meal while soaking in a city’s skyline or waterfront? You can pair food and drink stops with panoramic views at rooftop bars like Luna in Portland, 230 Fifth in New York, or The Envio in Portsmouth. Reserve early for sunset crowds, choose heated venues for cooler months, and enjoy waterfront spots such as Tony & Joe’s in Washington, DC.
Stay Safe on Unmarked Paths and Urban Cliffs
Why should you worry about unmarked paths and urban cliffs? Falls cause 20% of park deaths, especially on icy or rock‑covered routes. Use sturdy boots, secure laces, and traction devices; trekking poles add balance. Respect closures and signage, as ignoring them raises rockfall and falling‑tree risk. Avoid peak hours—most accidents happen 12‑6 PM, especially July weekends. Stay alert, plan routes, and carry a basic first‑aid kit.
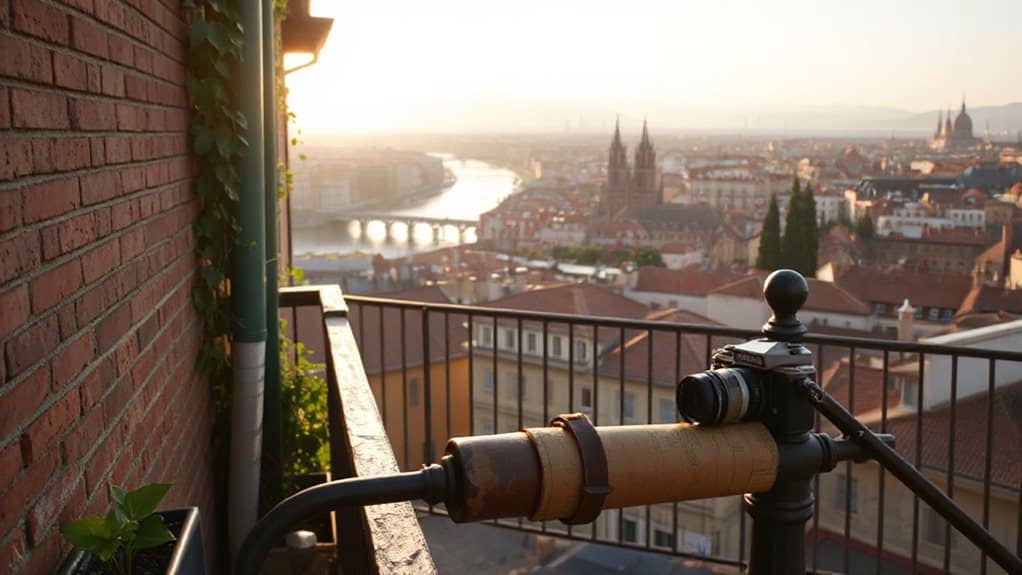
Capture the Scene: Photo‑Ready Spots & Gear Tips
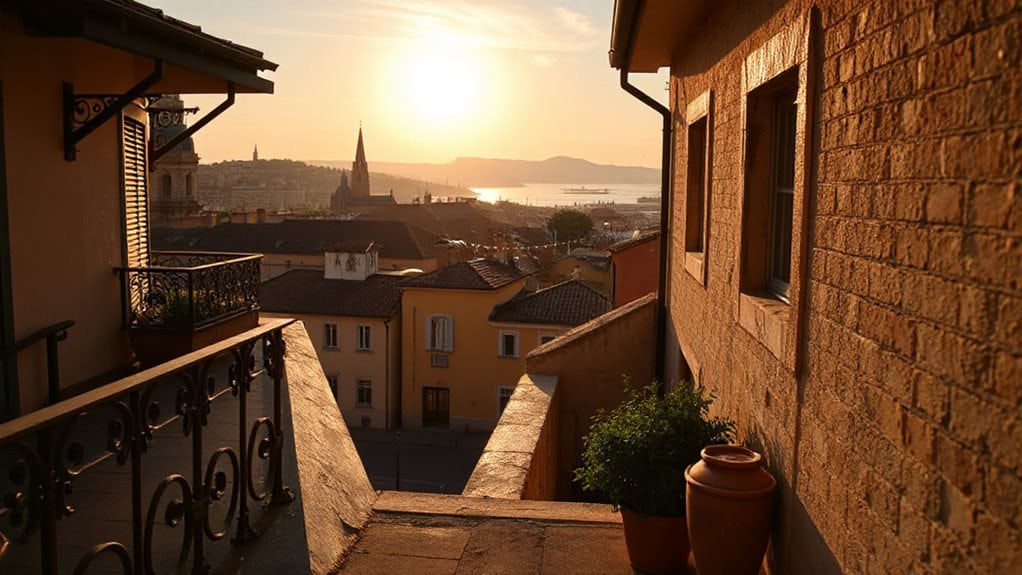
You’ll want to hit the golden‑hour windows at each spot, because the soft, warm light brings out texture and color without harsh shadows.
Pack a compact wide‑angle lens for sweeping cityscapes and a lightweight telephoto for isolating distant details, keeping your bag light for quick moves.
Use a sturdy tripod or handheld stabilizer and, if needed, a neutral‑density filter to maintain steady exposure when you’re shooting slower shutter speeds for light trails or low‑light scenes.
Golden Light Timing
Golden hour, the brief period when the sun sits just below the horizon, delivers softer, warmer light that’s ideal for cityscapes and street scenes.
Plan to start shooting an hour before sunrise or sunset, extending to ninety minutes if clouds linger.
Check the sun’s elevation—between ‑4° and 6°—and adjust ISO (800‑1200 low, 200‑400 higher) and aperture to capture the gentle glow without harsh shadows.
Compact Lens Choices
Where you’re wandering through a busy downtown or a quiet historic quarter, a compact lens can be the difference between a cramped selfie and a striking cityscape that fits neatly into your frame. Choose Sony 24 mm f/1.4 G Master for feather‑light sharpness, Fujifilm 16 mm f/2.8 R WR for weather‑proof wide angles, Canon RF 35 mm f/1.8 STM for stabilized close‑ups, Sony FE 35 mm f/1.4 GM for low‑light night shots, or ZEISS Loxia 35 mm for ultra‑compact manual focus.
Steady Capture Techniques
A compact lens lets you fit more of the city into the frame, but steadying the shot is what turns a good composition into a crisp image. Use a sturdy tripod, turn off in‑lens stabilization, and trigger with a remote or timer. Tuck elbows, lean against a wall, or rest the camera on a solid surface.
In manual or shutter‑priority mode, set 3‑6 seconds for light trails, keep ISO low, and consider ND or polarizer filters for daylight control.
Build Your Own Viewpoint Map for Future Trips
How do you start building a viewpoint map that will guide your future trips? Open Google My Maps in a desktop browser, log in, and create a blank map. Name it, then add layers for restaurants, attractions, parking, and viewpoints. Use custom icons, colors, and notes for each pin. Drag pins to adjust layers, add links, hours, and routes, then view the map on your phone during travel.
And Finally
You’ve learned how to locate hidden viewpoints, plan trips with public transit, and time visits for optimal light. Use local apps, map your routes, and pair spots with food or drink stops for a richer experience. Stay safe on unmarked paths, bring essential gear, and capture the scene responsibly. By documenting each find, you’ll build a personal map that guides future travels and helps you discover new panoramas whenever you explore a city.


