Pick an airline whose size and weight caps match your gear—many U.S. carriers waive sports‑equipment fees up to 115‑126 in linear and 50‑70 lb, while others charge $75‑$100 for excess. Pack in a hard case that meets ATA dimensions (≈48.75×11.125×12 in) and use foam or carpet liners for protection. Bundle items to stay under weight limits and capitalize on elite or credit‑card perks to avoid oversize fees. Follow TSA carry‑on rules, keep prohibited items out of the cabin, and use lockable wheels for mobility. After landing, sanitize, air‑dry, and store gear in breathable bags; this routine prevents damage and odor. Continue for more detailed tips.
TLDR
- Choose airlines that waive sports‑equipment fees (e.g., Alaska, American, Delta, Hawaiian) and stay within their linear‑inch (≈115‑126 in) and weight (≈50‑70 lb) limits.
- Pack gear in hard, size‑compliant cases (ATA‑standard interior, plywood/ABS with recessed steel hardware) and use custom foam or carpet liners for protection.
- Bundle items (ski boots, surfboards, etc.) to keep total weight under 50 lb and exploit elite status or credit‑card perks to avoid oversize fees.
- Follow TSA and airline carry‑on rules: keep dimensions ≤22 × 14 × 9 in (or carrier‑specific limits) and avoid prohibited items such as hockey sticks, golf clubs, and kayak paddles.
- After travel, sanitize gear with EPA‑approved disinfectant, air‑dry, then store in breathable containers or on racks to prevent odor, moisture, and damage.
Choose the Airline That Fits Your Sports‑Gear Needs
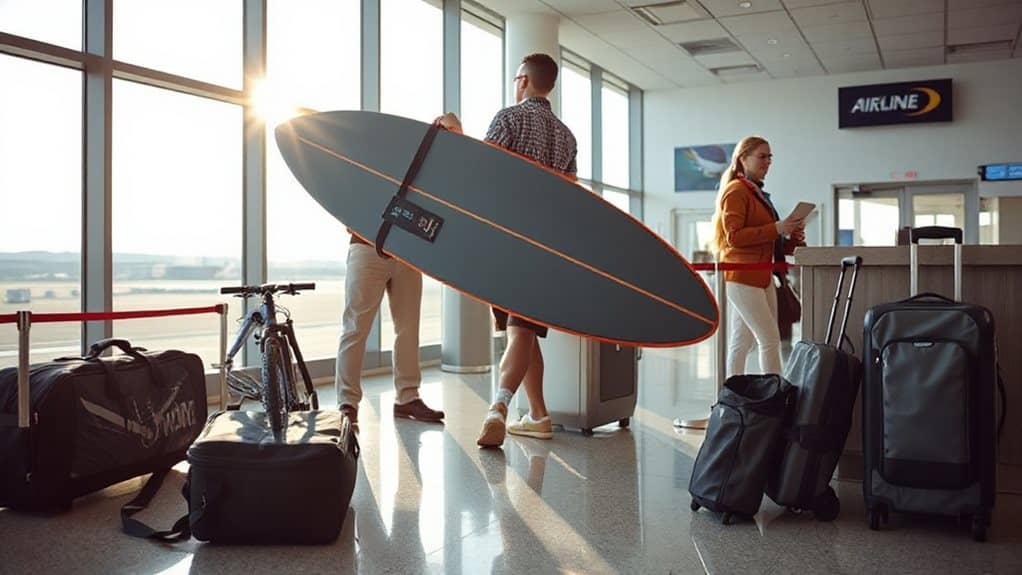
How can you pick the airline that matches your sports‑gear needs without paying surprise fees? Look at zero‑fee carriers: Alaska, Allegiant, American, Delta, and Hawaiian all waive sports‑equipment charges if size limits are met. Check size caps—most allow up to 115‑126 linear inches and 50‑70 lb. If your gear exceeds limits, expect $75‑$100 fees from Frontier, Southwest, Spirit, or European carriers. Choose based on limits, fees, and baggage allowances. Some airlines even waive oversize fees for elite status holders. Larger aircraft like wide‑body jets may increase the availability of checked‑baggage space and handling options, which can affect how easily oversized sports gear is accommodated wide‑body jets.
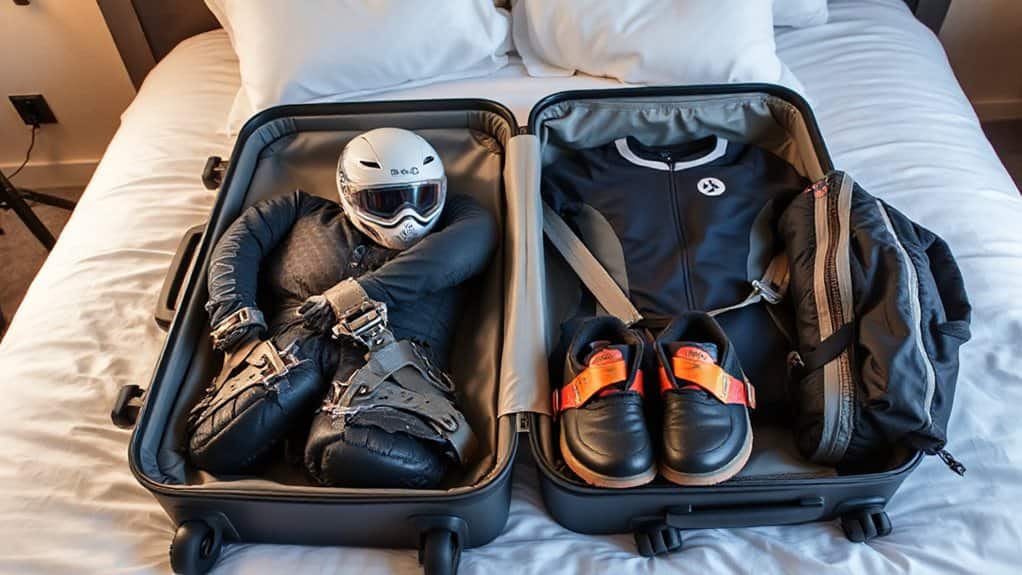
Pack Sports Equipment in Travel‑Ready, Size‑Compliant Cases
After picking an airline that meets your gear’s size limits, the next step is to place that gear in a travel‑ready, size‑compliant case. Choose a plywood‑based case with ABS laminate and recessed steel hardware for durability. Ensure interior dimensions match ATA standards—48.75″ × 11.125″ × 12″ or larger. Use custom foam or carpet liners, drawers, dividers, and tilt‑pull handles for organization and easy transport. Remember that route-specific fees and airport charges can affect overall travel costs, so factor those into your planning and budget, especially when flying from hubs with higher airport fees.
Bundle Gear and Balance Weight to Cut Checked‑Baggage Fees
Do you know that bundling your sports gear with other items can keep the total weight under the airline’s standard checked‑bag limit and eliminate extra fees?
Pack skis, boots, or a fishing case together, staying under 50 lb (23 kg).
Use a single bag for surfboards or kayaks, ensuring linear dimensions stay below 115 in (292 cm).
Check airline‑specific policies, capitalize on elite status or credit‑card perks, and avoid overweight fees by balancing weight across items.
Follow TSA Rules for Sports‑Gear Carry‑Ons
You’ll need to check the bag dimensions your airline allows and make sure any sports gear you pack fits within those limits.
Items such as hockey sticks, baseball bats, and ski poles are prohibited in the cabin, while tennis rackets and yoga mats are usually permitted.
Keep an eye on weight restrictions and potential fees, because exceeding the allowed weight can result in extra charges or the need to check the item.
Seat width and pitch vary by aircraft and airline, so compare your measurements to the seat dimensions on SeatGuru.com to ensure comfort and compliance with cabin space measurements.
Acceptable Bag Dimensions
Wondering how big your sports‑gear bag can be before it’s denied at the gate? Most airlines cap carry‑ons at 22 × 14 × 9 inches, counting wheels and handles. Some budget carriers allow 24 × 16 × 10 inches, while regional airlines use linear‑inch limits, like 45 inches total. Always verify your carrier’s exact dimensions and personal‑item rules before you pack.
Prohibited Items in Cabin
After confirming your bag fits the airline’s size limits, you need to check what you can actually place inside it. TSA bans hockey sticks, baseball bats, golf clubs, ski poles, and bowling pins from carry‑ons. Walking sticks, lacrosse sticks, hiking poles, kayak paddles, and pool cues are also prohibited. Martial‑arts weapons, nunchucks, cricket bats, bows, arrows, and related gear aren’t allowed. Camping stoves, fuels, matches, lighters, flares, firearms, gunpowder, ammunition over 11 lbs, explosive projectiles, and bear spray must be checked or left behind.
Weight and Fee Guidelines
How much your sports gear weighs determines whether it stays in the cabin or moves to the checked compartment, and it also dictates any extra fees you’ll face. Airlines cap carry‑on weight at 35 lb (AA) or 40 lb (Delta).
Checked bags may reach 40 lb for free; 41‑50 lb adds $75, 51‑100 lb adds $100.
Oversize items must meet linear‑inch limits, otherwise fees apply. Check each carrier’s rules before you pack.
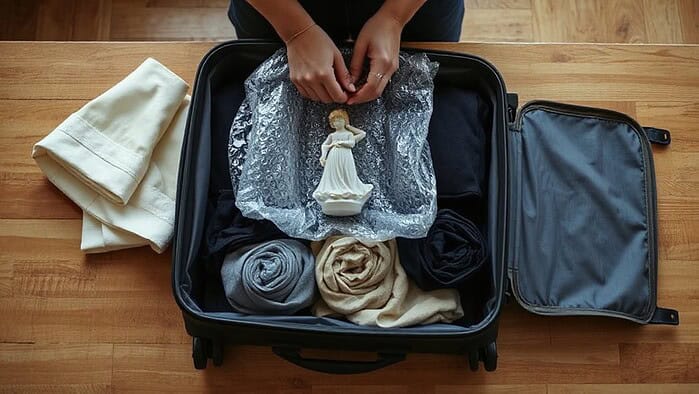
Protect Delicate Gear With Padding, Hard Shells, and Moisture‑Resistant Bags
Do you know why layering padding, hard shells, and moisture‑resistant bags is essential for protecting delicate sports gear? You wrap foam on a surfboard’s rails, tail, and nose, then add bubble wrap, a board sock, towels, and a heavy‑duty bag.
Use hard cases for helmets or bike parts, lockable zips and wheels for mobility.
Seal smaller items in waterproof liners, open bags promptly to air out, and keep fragile pieces centered with soft clothing. This system safeguards against shocks, impacts, and moisture while you travel freely. Seat maps, however, may not reflect real-time occupancy, so check updated availability and seat blocks 24–48 hours before departure.
How to Handle High‑Value Gear Like Golf Clubs, Skis, and Scuba Tanks?
Why you treat golf clubs, skis, and scuba tanks as high‑value gear is simple: airlines and freight providers impose strict size, weight, and handling rules that can quickly turn a routine trip into a costly hassle.
Pack clubs in one checked bag under 50 lb, label skis with “Handle with Care,” and ship scuba tanks via LTL freight with insurance.
Use ATA Carnets for customs, and choose door‑to‑door services to avoid airport delays.
Ground shipping options like FedEx Ground often provide economical rates for heavy or oversized equipment.
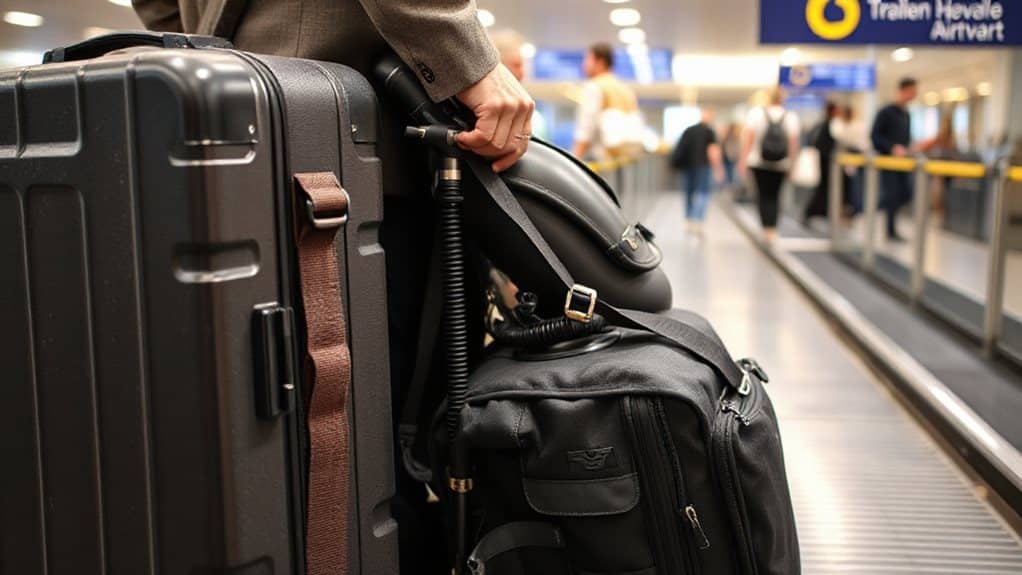
Pre‑Flight Checklist: Documents, Accessories, Backups
When you’re about to board, the first thing you need is a complete set of documents and accessories that satisfy airline policies and protect your gear. Register your equipment 24 hours ahead, verify each carrier’s rules, and pack hard‑shell cases or waterproof liners. Carry insurance proof, a pump, tools, and spare padding. Confirm registration at check‑in, inspect gear on arrival, and report any damage immediately. Consider scouting hidden canals and quiet transit options at your destination to minimize transit stress and preserve your equipment.
Labeling and Tag Placement for Easy Airport Handling
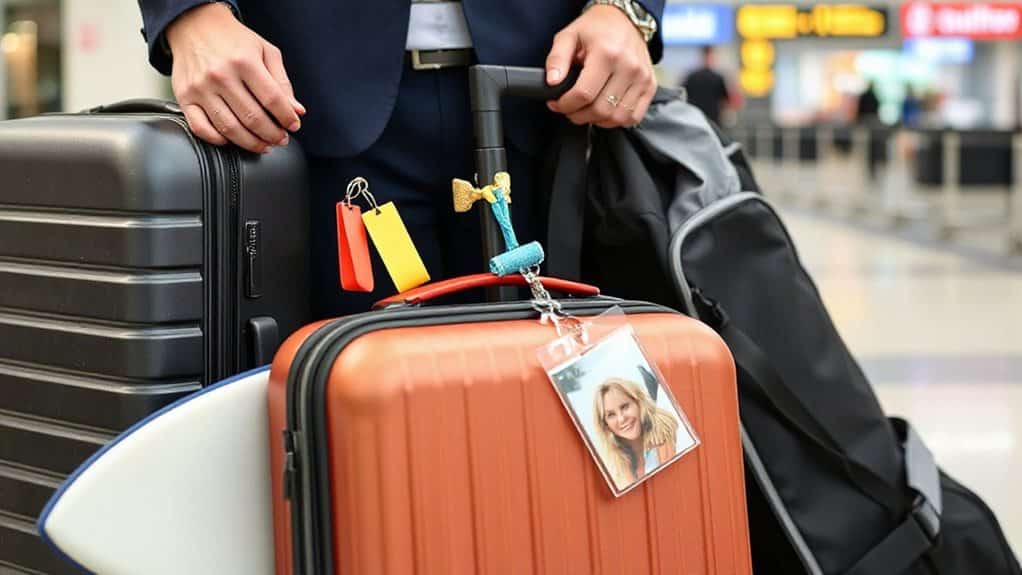
After confirming your documents and accessories at check‑in, turn your attention to labeling and tag placement so that airport staff can handle your sports gear quickly and correctly. Attach a durable, waterproof label with your name, phone, and destination address on each bag’s exterior. Use bright, contrasting colors for visibility. Secure airline‑issued tags high on the handle or strap, avoiding seams. Double‑check that labels stay flat and legible throughout handling.
Post‑Flight Gear Recovery: Cleaning, Storage, and Maintenance
After you land, you’ll want to sanitize your gear quickly with a gentle disinfectant spray or a vinegar‑water rinse before any odors set in.
Then, store each item properly—hang helmets and pads on a rack, place shoes in a well‑ventilated area, and keep uniforms in breathable bags to maintain shape and airflow.
Finally, schedule routine maintenance by checking for wear, applying protective sprays, and planning regular deep cleans so everything stays game‑ready for your next trip.
Sanitize Gear Quickly
If you need to get your gear back in shape quickly after a flight, start by tackling the most contaminated items first and follow a systematic cleaning routine. Wipe pads, helmets, and shoes with warm,apy water, then spray EPA‑listed disinfectant and air‑dry.
Mix a bleach solution for hard surfaces, apply six minutes, rinse, and let everything dry fully before re‑packing. This keeps germs at bay without sacrificing speed.
Store Items Properly
Where should you place each piece of equipment once it’s clean? Hang helmets, pads, and headgear on a rack or hook in a well‑ventilated corner, allowing full air flow.
Store shoes, cleats, and insoles in breathable shoe bags or on a shelf, keeping laces loose.
Keep balls, bats, rackets, and mats upright on hooks or shelves, using disinfectant spray and Captodor for odor control.
Ensure straps are loosened and fastenings are open for easy access.
Schedule Routine Maintenance
How often you schedule routine maintenance determines whether post‑flight gear stays fresh, safe, and ready for the next game. You should inspect, clean, and dry equipment after each use, then deep‑clean pads and helmets weekly. Use bleach solution on hard surfaces, Sani‑Sport ozone for microbes, and air‑dry or fan‑dry to avoid warping. Apply deodorizing spray and EPA‑approved disinfectant before storage.
And Finally
By following these steps, you’ll keep your sports gear safe, compliant, and cost‑effective throughout your trip. Choose an airline that matches your equipment needs, pack in size‑approved cases, and balance weight to avoid extra fees. Observe TSA carry‑on limits, use protective padding, and label everything clearly. Handle high‑value items with extra care, and run a pre‑flight checklist of documents and backups. After landing, clean, store, and maintain your gear promptly to ensure it’s ready for the next adventure.